

Changing car oil at home can sound a little intimidating at first. There is the car, the tools, the drain plug, the filter, the mess, and that small fear of doing something wrong. Fair enough. But once a person understands the steps, an oil change becomes one of the more manageable DIY car care tasks.
Learning how to change engine oil can save time, reduce service costs, and help a car owner understand the vehicle better. It also removes the need to sit at a service center for a basic job that can often be done in the driveway with the right tools and a bit of patience.
The key is preparation. No rushing, no guessing, and no crawling under a car that is not safely supported. A careful approach matters more than speed.
The ability to change engine oil gives the car owner more control over basic maintenance. Engine oil lubricates moving parts, reduces friction, helps control heat, and keeps the engine clean. As the oil gets old, dirty and low, the engine has to work harder
A simple DIY oil change guide helps drivers avoid unnecessary trips for routine service. This also helps them choose the appropriate oil and not just go with whatever is given at a shop.
That said, not every person has to change oil at home. Some may prefer a mechanic, and that is fine. But knowing the process still helps.
Before starting, everything should be ready. Stopping halfway because the right wrench is missing is annoying, and worse, it can leave the job messy.
A basic home oil change usually needs:
The owner’s manual is important because it shows the oil type, oil capacity, filter requirement, and service interval. Guessing is not worth it.
For anyone comparing oil change cost vs DIY, the first oil change may cost more because tools need to be bought. After that, the savings usually become clearer.
The car should be parked on a flat surface. If the car needs to be lifted, ramps or jack stands should be used properly.
The engine should be warm, but not burning hot. Warm oil drains better than cold oil, but hot oil can burn skin. A short drive, followed by a few minutes of cooling, usually works.
Safety cannot be treated like a small detail here. A car should never be supported by a jack alone while someone is underneath it. Jack stands or ramps are nonnegotiable.
Before removing anything, the person should check:
This is the unglamorous part of car maintenance, but it is also the part that prevents trouble.
The drain plug is generally on the oil pan below the engine. Depending on the vehicle, the oil filter may be under the vehicle, on the side of the engine or accessible from the top.
The owner should identify both before draining anything. It also helps to confirm that the wrench fits the drain plug. Using the wrong size can round the bolt and make the job much harder.
A good DIY oil change guide always includes this reminder: know where everything is before opening the drain plug. Once oil starts flowing, the person needs to stay focused.
Know More: Smart tips for financing a car for first time buyers
The drain pan should be placed under the plug, slightly off-center, because oil may shoot out at an angle at first. The drain plug is loosened carefully with a socket wrench, then removed by hand once loose.
Oil should be allowed to drain fully. This may take several minutes. There is no need to rush it. While waiting, the person can inspect the drain plug and washer. If the washer looks damaged, it should be replaced.
When the oil slows to a drip, the drain plug can be reinstalled. It should be snug, not overtightened. Too much force can damage threads, and that is not a fun repair.
The oil filter holds old oil too, so the drain pan should be moved underneath it. The filter can be loosened with an oil filter wrench, then removed by hand. Some oil will spill, so rags should be ready.
Before installing the new filter, a little fresh oil should be rubbed around the rubber gasket. This helps create a better seal and makes removal easier next time.
The new filter should usually be tightened by hand. It should be firm, but not crushed tight. Some filters have specific instructions, so checking the packaging is smart.
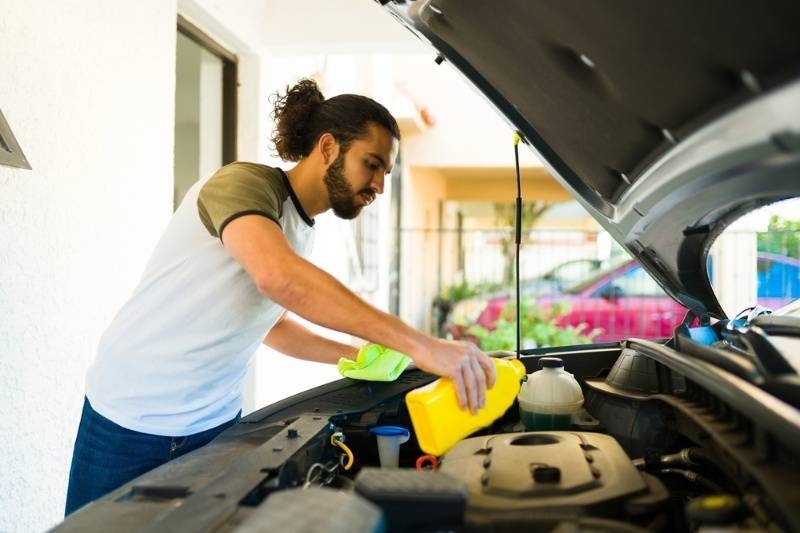
Once the drain plug and new filter are installed, the car can be filled with fresh oil through the oil cap on top of the engine. A funnel helps prevent spills.
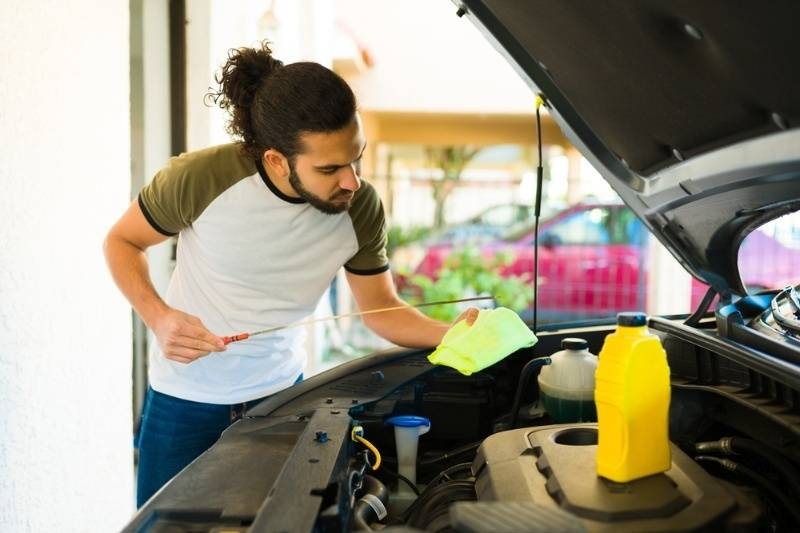
The owner’s manual will show the correct amount. It is better to add slightly less at first, then check the dipstick and top up as needed. Overfilling oil can cause problems, so more is not better.
This is also where choosing the best motor oil for cars becomes important. The best oil is not always the most expensive bottle on the shelf. It is the oil that matches the vehicle’s required viscosity and specifications.
The oil label and owner’s manual should match on:
Some modern engines are designed for synthetic oil. Older vehicles may allow different choices, but the manual should lead the decision.
After adding oil, the oil cap should be secured. The engine can then run for 30 to 60 seconds. This lets the new oil circulate and fills the filter.
While the engine runs, the person should check under the car for leaks near the drain plug and oil filter. If there is dripping, the engine should be turned off and the problem checked.
This step is simple, but it matters. A clean job is not finished until the level and leaks are checked.
Used motor oil should never be poured into the ground, trash, drain, or street. It must be taken to a recycling center, auto parts store, or approved collection site. A home oil change is only responsible when cleanup is handled correctly. Spills should be wiped, tools cleaned, and the area checked before the car is driven again.
A driver should check the manual and also pay attention to the oil life monitor if the car has one. When in doubt, changing oil a little early is usually safer than waiting too long.
Check Out: When is the Best Time to Buy a Car for Maximum Savings?
Small mistakes during an oil change can create big headaches. Most are easy to avoid with patience.
The most common ones include using the wrong oil, overfilling, forgetting to tighten the drain plug, double-gasketing the oil filter, skipping leak checks, or failing to dispose of used oil properly.
Another mistake is ignoring the oil filter. Fresh oil with an old filter defeats the purpose. The filter should usually be replaced every oil change.
A person should also write down the mileage and date after finishing. This makes the next service easier to track.
It depends on the vehicle. Some trucks and SUVs have enough ground clearance to reach the drain plug and filter safely without lifting. Many sedans and compact cars do not. If lifting is needed, the car must be supported with ramps or jack stands. A jack alone should never be trusted while working underneath.
Too much oil can cause foaming, pressure problems, leaks, and even damage to the engine. On the other hand, if the dipstick shows the oil is above the full mark, the excess oil must be drained or removed before driving any distance. A little overfill doesn’t always spell trouble right away, but it’s better to deal with it than ignore it.
In many cars, switching from conventional to synthetic oil is fine as long as the synthetic oil meets the vehicle’s required specifications. Older engines with existing leaks may sometimes show leaks more clearly after switching, but synthetic oil itself is not usually the cause of damage. The safest move is to follow the owner’s manual.
This content was created by AI